
How to Build a Deck: a Step-by-Step Guide from Planning to Finish
Building a deck yourself is a project that takes several weekends and needs a solid plan. This guide walks you through every stage, from setting out the first footing to laying the last deck board, so you know what to expect and what tools and materials you will need.
Do I need a permit for a deck, and what rules apply?
Most towns and counties require a building permit for any deck that is attached to the house or stands more than 30 inches (760 mm) above the ground at any point. Freestanding ground-level decks under that height are often exempt, but you should still call your local building department to confirm. If you start without a permit, you risk a stop-work order, a fine, or trouble when you sell the house.
Local codes set the minimum setbacks from property lines, which typically range from 3 to 10 feet depending on the zone. Height limits for a deck floor usually match the finished floor of the adjoining room, and railings become mandatory once the deck surface exceeds 30 inches above grade. The International Residential Code (IRC) also specifies the spacing of balusters, the strength of guardrails, and the size of stair treads. Your building department can give you a handout with the rules that apply in your area.
You will need to submit a simple site plan showing the deck dimensions, its distance from the lot lines, and the location of the footings. You pay the permit fee, based on the project valuation, when you submit the application. Once the footings are dug but before you pour concrete, the inspector will visit to check the depth and spacing; a second inspection typically follows after the frame and railing are up. Calling for inspections on time keeps the project legal and avoids having to uncover finished work later.
What tools and materials will I need for the whole project?
Gather everything before you break ground to avoid repeated trips to the supplier mid-project. The exact quantities depend on your deck dimensions, but the categories stay the same. Split your list by stage so you can tick items off as you start each phase.
A circular saw and a mitre saw handle almost all cuts. A cordless drill with a driver bit and a set of sharp drill bits for wood and concrete speeds up fastening. For layout and footings you will need a post-hole digger or an auger, a 1.2 m level, mason’s line, wooden stakes and a tape measure of at least 7.5 m. Keep a framing square, a chalk line and a hammer to hand throughout.
- Layout and footings: stakes, mason’s line, post-hole digger or auger, wheelbarrow, shovel, concrete mix, form tubes, gravel, 1.2 m level, tape measure.
- Framing: pressure-treated lumber for posts, beams and joists, joist hangers with hot-dip galvanised nails or structural screws, galvanised post bases and anchor bolts, circular saw, framing square, chalk line.
- Decking: deck boards (pressure-treated pine, cedar or composite), hidden fasteners or stainless steel deck screws, spacers for consistent gaps, mitre saw, carpenter’s pencil.
- Railing: pre-cut balusters or a baluster jig, top and bottom rails, rail post connectors, lag screws, cordless drill, level.
Fasteners must match the lumber. Use hot-dip galvanised or stainless steel hardware with treated wood. Composite boards often require manufacturer-specific clips and screws. Check the brand’s installation guide for the recommended fastener type and spacing. Buy 10 to 15 percent extra deck boards and balusters to cover offcuts and occasional defects.
How do I plan the deck layout and set the footings?
Mark the deck perimeter on the ground with batter boards and mason's line set just outside the actual footprint. Drive two stakes for each corner, about 600 mm beyond where the footing will go, and run taut string between them. Where the strings cross marks the centre of each footing. Check that the strings are level with a line level so the layout sits in a single plane.
Square the corners with the 3-4-5 method. Measure 900 mm along one string from the intersection and mark it, then 1200 mm along the adjacent string and mark that. The diagonal between those two marks must equal 1500 mm. Adjust the strings until the measurement holds for every corner. Measure the diagonals of the whole rectangle as a final check: they must match to within 5 mm.
Dig footing holes to the frost line depth required by your local building code, typically 900-1200 mm in the Springfield area. The hole diameter should be at least three times the post width. Pour the concrete so it rises 50-75 mm above grade and crown the top with a trowel so water runs away from the post base. Let the concrete cure for 24-48 hours before setting post anchors.
How do I build the deck frame so it stays level and square?
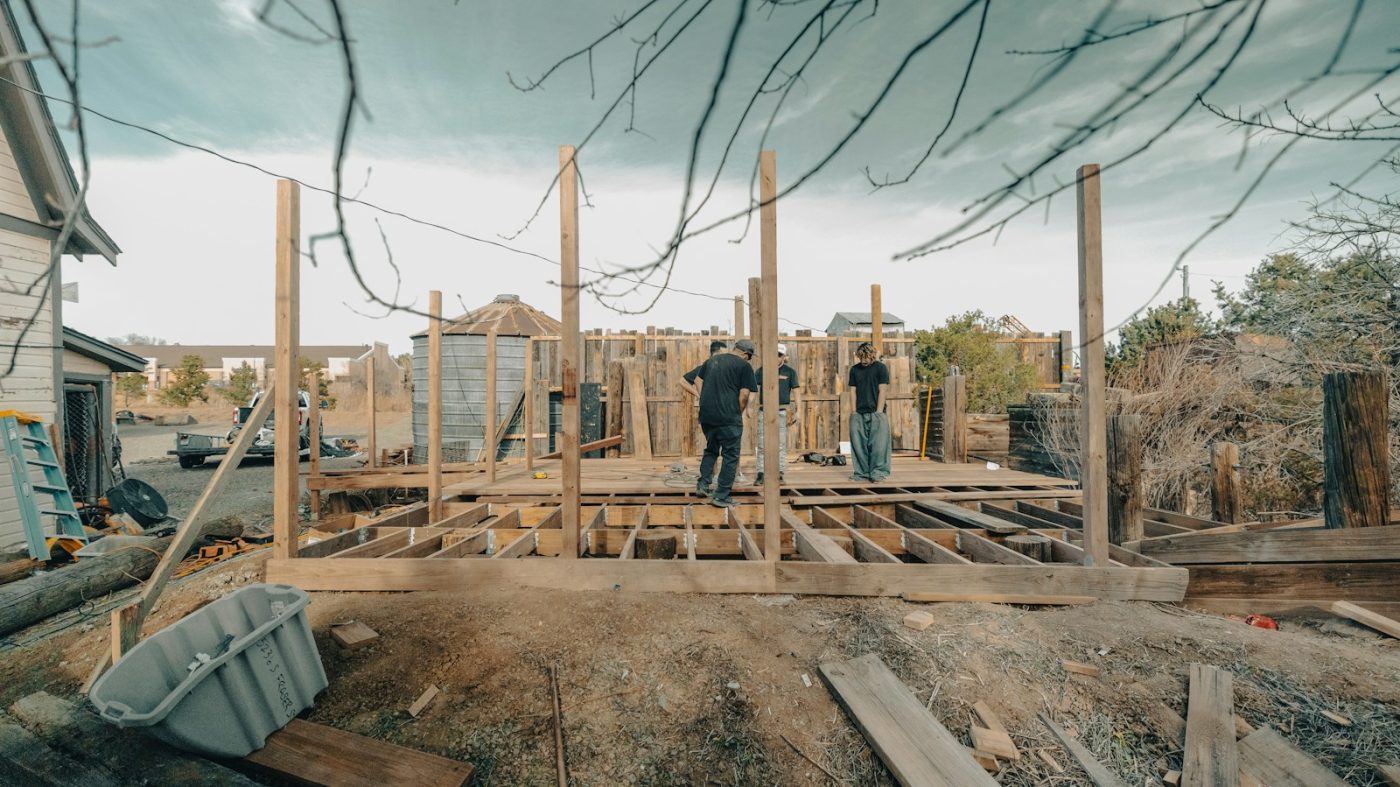
The frame starts with the ledger board, a piece of pressure-treated timber bolted to the house. You drill through the rim joist of the house and fasten the ledger with 12 mm lag screws or through-bolts at 400 mm intervals. A strip of self-adhesive flashing goes behind the ledger to direct water away from the wall. This board carries half the weight of the deck, so check it for level in both directions before you tighten everything.
With the ledger fixed, you set the outer beam on the posts. A double 2×10 or 2×12 is typical for spans up to 3.6 m. You clamp the beam to the posts, level it with the ledger, and bolt it through with coach screws. Before moving on, measure the diagonals from corner to corner. If the two diagonals match within 5 mm, the frame is square. If not, nudge the beam until they match.
Joists run between the ledger and the beam, hung on metal joist hangers. Spacing depends on the deck board orientation:
- 400 mm on centre for boards laid perpendicular to the joists.
- 300 mm on centre for boards laid at a 45-degree angle.
- 300 mm on centre for composite boards, which flex more in heat.
- 400 mm on centre for 32 mm thick hardwood boards.
- 450 mm on centre for 38 mm thick timber, though this is less common.
- 600 mm on centre is allowed only for very thick boards and requires manufacturer confirmation.
After every third joist, check with a spirit level across the tops. Lift a low joist with a shim under the hanger; cut a shallow notch in a high one. Crown each joist upward when you place it so any sag over time straightens the board instead of deepening a dip. Fix blocking between joists over the beam to stop them twisting, and your frame is ready for the decking.
What is the right way to lay deck boards?
The boards should run perpendicular to the joists below. Start with the longest, straightest board against the house or at the outer edge, depending on your chosen pattern. A single picture-frame border with the field boards inside it hides cut ends and gives a clean finish, though it takes more blocking underneath. The simpler approach is to run all boards the full length and trim the ends in one line after you fix them.
Wet treated boards will shrink, so butt them tightly if they are fresh from the yard. Kiln-dried or composite boards need a consistent gap, usually the thickness of a 16d nail or the manufacturer’s spacer. Check the gap every few rows: a slight drift adds up fast over 3-4 m. For hidden fasteners, follow the system’s clip spacing exactly. Face-screwing is faster and easier to repair later; if you go that route, snap a chalk line on every joist so the screw heads make a straight row instead of a wandering pattern.
- Cut board ends square and treat any field cuts with end-grain preservative before fixing.
- Stagger butt joints so two adjacent boards never break on the same joist.
- Notch boards around posts with a 5 mm gap on all sides to let water drain and the post move.
- Overhang the outer rim by 25-40 mm, then snap a line and trim with a circular saw for a dead-straight edge.
- Lay the last board by ripping it to width if needed, keeping the offcut edge toward the house.
How do I build and attach the railing?
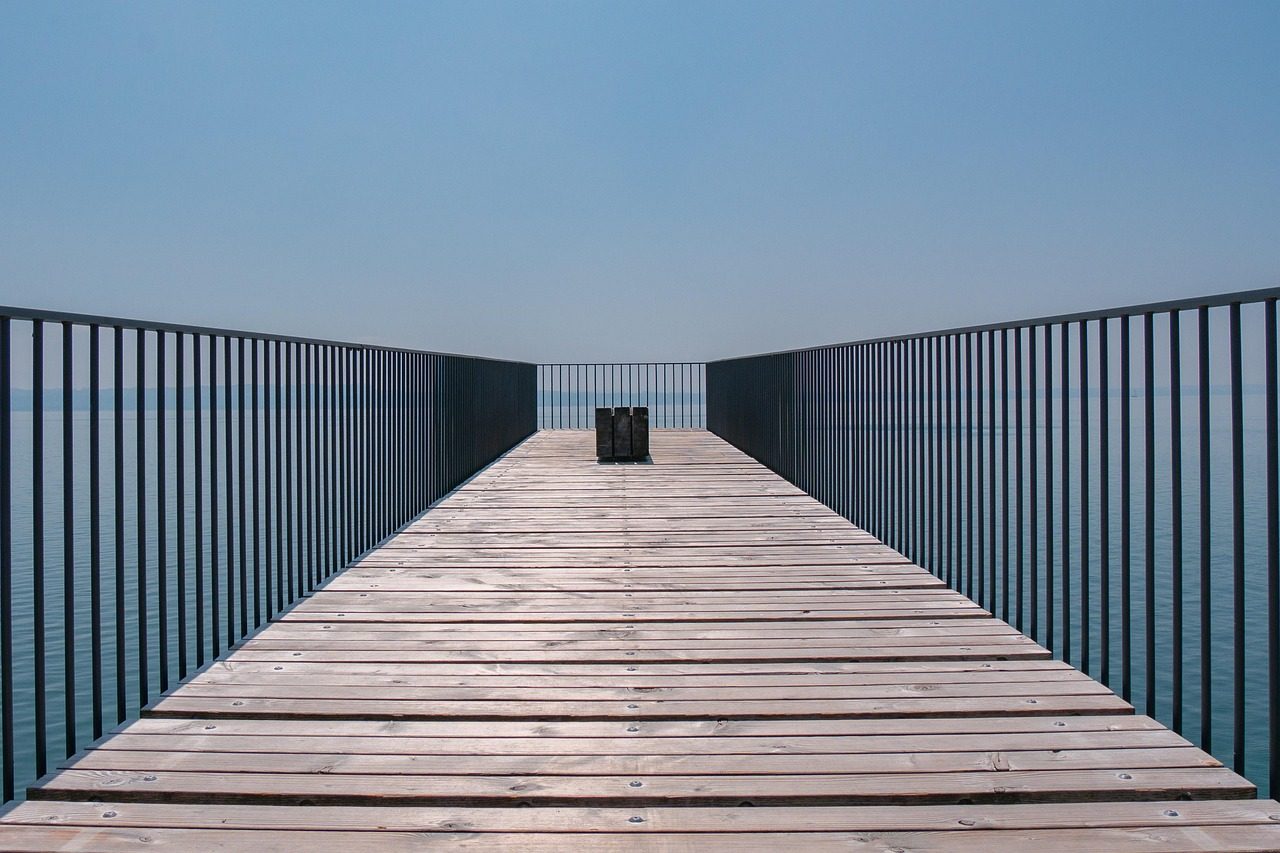
A deck railing consists of posts, a top rail, a bottom rail, and infill such as balusters. The posts carry the load, so they must tie directly into the deck frame, not just into the deck boards. Building codes in most jurisdictions require a railing when the deck surface is more than 30 inches (762 mm) above the ground, with a minimum height of 36 inches (914 mm) for residential decks and 42 inches (1067 mm) for commercial ones.
Cut the posts to length after the decking is down, allowing extra height for trimming later. Bolt each post to the inside face of the rim joist with two 1/2-inch through bolts or structural screws, and block between joists behind the post for solid backing. Space the posts no more than 6 feet (1.8 m) apart on centre. If a post moves when you push it sideways, it needs deeper blocking or a tension tie to the joist system.
Fasten the top and bottom rails between the posts with rail brackets or by notching the posts and screwing through the face. The bottom rail sits 2 to 4 inches (50-100 mm) above the deck surface so water and debris can move freely. Baluster spacing must be tight enough that a 4-inch (102 mm) sphere cannot pass through at any point, a rule that applies equally to the gap under the bottom rail. Install the balusters with screws or nails into both rails, and cap the top rail with a continuous handrail piece that overlaps the post tops by at least 1 inch (25 mm) on each side.
How do I protect and maintain the finished deck?
New pressure-treated wood needs time to dry before you apply any finish. Test it by sprinkling a few drops of water on the surface. If the water beads up, the wood is still too wet. When it soaks in within a few seconds, the deck is ready. This typically takes 4 to 8 weeks, depending on the weather and how much sun the boards catch.
Start by cleaning the whole surface with a stiff brush and a deck cleaner, not household detergent. Rinse thoroughly with a garden hose and let the deck dry for 24 to 48 hours. Choose a stain or a water-repellent sealer. A transparent stain shows the grain but needs redoing every year or two. A semi-transparent stain gives some colour and lasts 2 to 3 years. Solid stains hide the wood but can peel on horizontal surfaces.
Apply the finish with a roller on a pole for the boards and a brush for the edges and between gaps. Work along two or three boards at a time from one end to the other, so you do not walk yourself into a corner. One even coat works better than a thick one that sits on the surface and flakes. Avoid staining in direct midday sun or when rain is forecast within 24 hours.
Keep the deck in good shape with a simple routine:
- Sweep leaves and debris off the deck at least once a week; trapped moisture rots wood faster than rain.
- Move planters and furniture a few inches every month so water does not pool underneath them.
- Wash the deck with mild soap and a soft brush each spring to remove pollen and grime.
- Check the ledger board and the posts for soft spots or rust on the hardware every autumn.
- Recoat the deck when water no longer beads on the surface, usually every 2 to 4 years depending on the product and the exposure.
Frequently asked questions
How long does it take to build a deck?
A simple ground-level deck often takes two or three weekends for a person with basic carpentry skills. A larger raised deck with stairs and a railing can take four to six weekends. The time depends on the size, the number of helpers, and the weather.
Can I build a deck directly on the ground?
You can build a ground-level deck on concrete piers or deck blocks, but never on bare soil. Wood in contact with the ground rots quickly, even pressure-treated wood. A low deck still needs a clear gap underneath for air to circulate and keep the framing dry.
What is the best wood for a deck?
Pressure-treated pine is the most common choice because it resists rot and insects and costs less than cedar or hardwoods. Cedar and redwood are naturally durable and take stain well, but are more expensive. Composite decking costs more upfront but needs almost no maintenance beyond occasional cleaning.
How far apart should deck joists be?
Most decks use joists spaced 400 mm on centre when the deck boards run perpendicular to the joists. If you lay boards at a 45-degree angle, reduce the spacing to 300 mm on centre to prevent the boards from feeling springy. Always check the deck board manufacturer's instructions for the maximum span.