
How Much Does Patio Paver Installation Cost in 2025
A new paver patio costs between $12 and $28 per square foot installed for most projects in 2025. The final price depends on the pavers you choose, the size and shape of the patio, and how much ground preparation the site needs. We walk through every factor that moves the quote so you can plan a realistic budget.
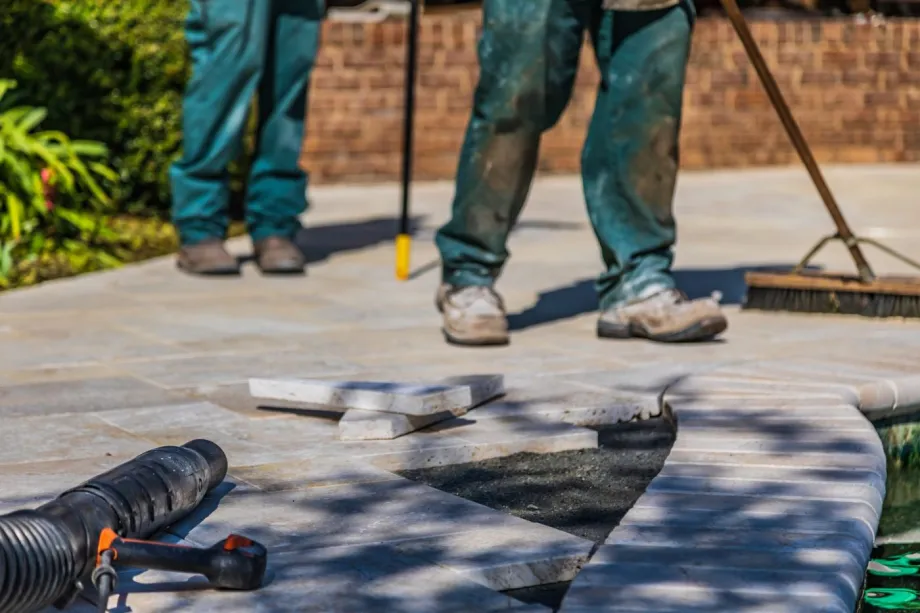
What is the average cost to install a paver patio per square foot
For a standard paver patio, the installed cost typically falls between $15 and $30 per square foot. Most contractors use this figure when giving a preliminary estimate. It covers everything from the base preparation to the final joint sand, a more useful number than a bare materials price.
Of that range, the pavers themselves account for roughly $4 to $12 per square foot, depending on the material you choose. The rest is labour, base materials like gravel and sand, and the time needed to cut and fit the units. Labour alone is the largest single item. A proper installation means excavating to the right depth, compacting a stable base in layers, and setting each paver with care so the surface stays flat and drains well.
A per-square-foot price scales predictably, so it is the standard way to estimate. A small 100-square-foot patio and a larger 400-square-foot one will usually fall within the same cost range once you account for minimum job charges. You can also compare quotes directly without getting lost in line items that each contractor bundles differently.
How does paver material affect the total cost
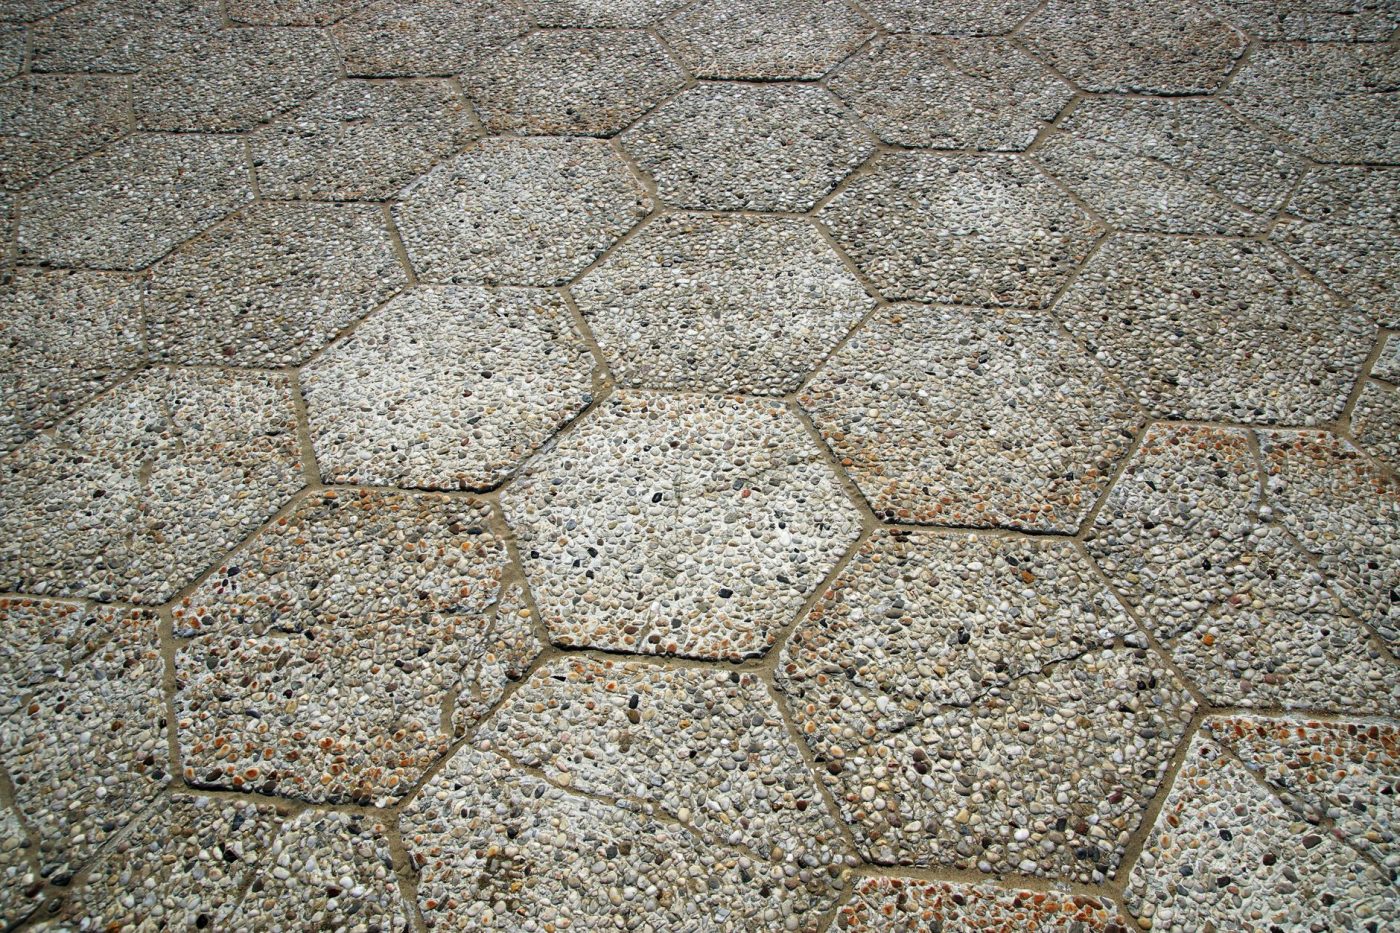
Material is the single largest variable in your paver patio budget. The installed price per square foot can more than triple depending on what you choose. Each option behaves differently under foot, in freeze-thaw cycles and over decades of use.
Concrete pavers cost the least to buy and lay. Brick sits in the middle. Natural stone or large-format porcelain occupy the top of the range. The table below compares the four common families by installed cost, typical lifespan and appearance after a few seasons.
- Concrete pavers. The most affordable choice, with a smooth or textured face and consistent colour. They hold up well in frost but the surface colour fades gradually in full sun. Expect them to stay sound for 25-30 years with occasional re-sanding of the joints.
- Clay brick pavers. Fired at high temperature, so the colour runs through the whole unit and does not fade. Brick is denser and less porous than standard concrete, which gives it better stain resistance. Installed cost is moderate and a properly laid brick patio often reaches 40-50 years.
- Natural stone. Bluestone, granite, limestone and sandstone each have a distinct texture and colour variation. Stone flags are heavier and slower to cut and bed, so labour cost rises noticeably. Sealing is recommended every few years to keep the surface from absorbing water and staining. A well-maintained stone patio can outlast the house.
- Porcelain pavers. Large-format 20 mm outdoor porcelain is non-porous, highly scratch-resistant and will not fade. The material itself is more expensive and demands a perfectly flat, compacted base, which adds preparation time. Porcelain needs almost no upkeep beyond occasional washing and stays slip-resistant even when wet.
Durability and appearance move together with price. If the patio faces south and gets heavy sun, brick or porcelain will keep their colour longer. If you want a cool, barefoot-friendly surface beside a pool, porcelain or a light limestone makes a practical choice. A good installer can show you full-size samples laid on the ground. This reveals far more about colour and edge detail than a small swatch in a showroom.
What site preparation costs should I expect
Site preparation is the foundation of a durable patio. It often makes up a noticeable share of the total bill. Before a single paver is laid, the crew needs to create a stable, well-drained base that will not shift with the seasons. The condition of your yard determines how much work is involved.
- Excavation and soil removal. The crew digs out the patio area to a depth of 7-9 inches below the finished surface. If the ground is rocky, full of tree roots or hard clay, the work takes longer and disposal fees for the spoil increase.
- Base material and compaction. A layer of crushed stone, typically 4-6 inches thick, is spread and compacted in lifts. The cost depends on the depth required for your soil type and how far the stone has to be delivered from the supplier.
- Grading and slope correction. Every patio needs a slight slope away from the house, usually 1 inch of fall per 4-8 feet. A yard that is flat or slopes toward the foundation requires extra fill material and more labour to build up the correct grade.
- Drainage solutions. If water already pools in the area, the contractor may need to install a French drain, a catch basin or a dry well. These fixes add materials and a half-day or more of skilled labour before base work can begin.
- Access and obstructions. A fence, a narrow side gate or a steep slope that blocks a wheelbarrow or mini skid steer forces the crew to carry materials by hand. That manual labour adds hours to the job and raises the preparation cost noticeably.
These steps are not optional. Skipping proper excavation or using too little base stone leads to a patio that sinks and cracks within a few seasons. A contractor who quotes a low preparation figure often cuts corners you will pay for later.
How do patio size and shape change the installation price
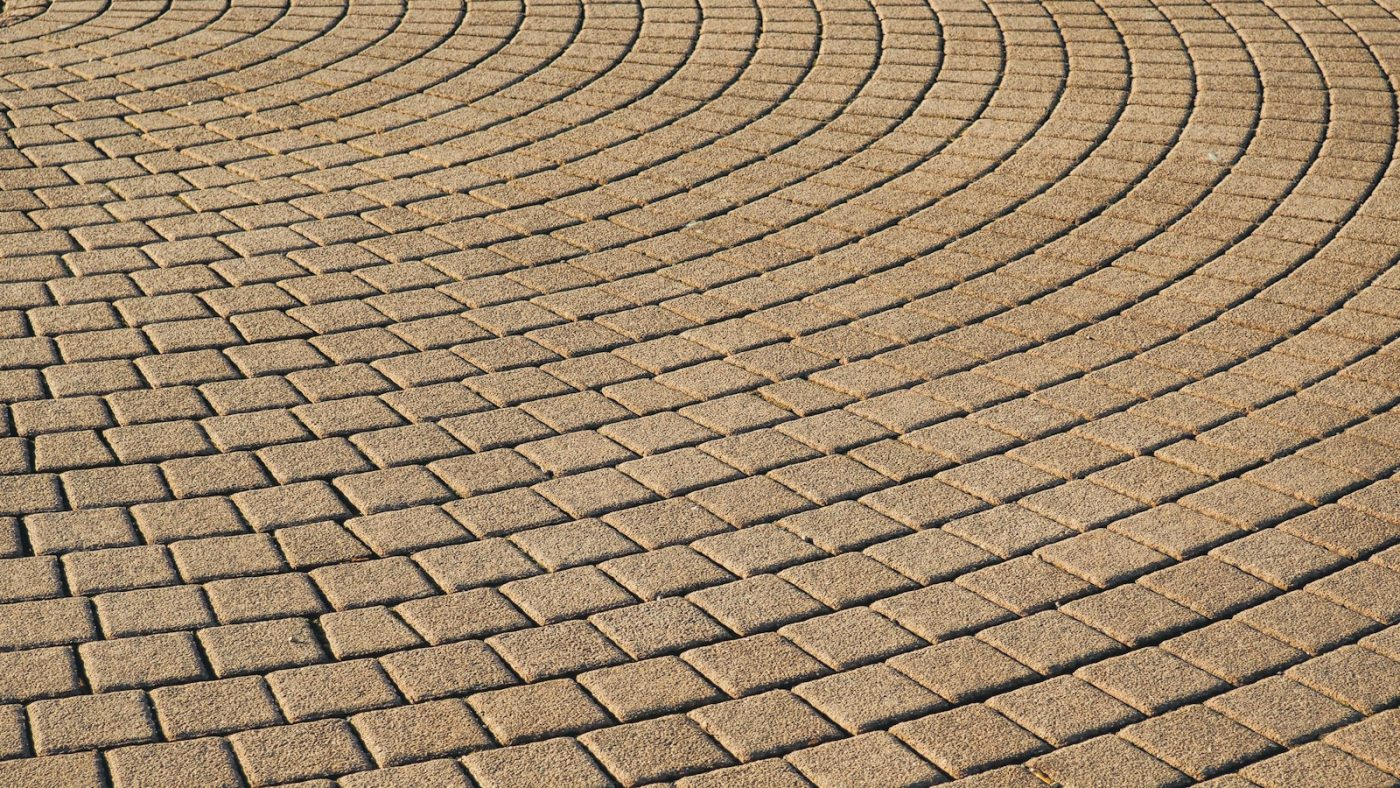
A larger rectangle or square patio is usually the most efficient to install. The crew can work in a steady rhythm, cuts are minimal and waste stays low. A compact 100-square-foot patio may cost more per square foot than a straightforward 400-square-foot one. The fixed costs of bringing equipment and preparing the base are spread over fewer units.
Curved edges and irregular shapes raise the labour cost. Every arc requires the installer to mark the radius, make multiple angled cuts and fit the border pavers one by one. A freeform patio with sweeping curves can take half a day longer to edge than a simple rectangle of the same area, and the cut-off waste is higher.
Borders and inlays add another layer of work. A soldier-course border in a contrasting colour means two cutting lines instead of one, and the crew must keep the pattern aligned around corners. Intricate layouts such as a fan pattern or a circle kit inside a field of rectangular pavers demand careful layout and more cuts, which shows up in the final labour charge.
What extras and finishes increase the project cost
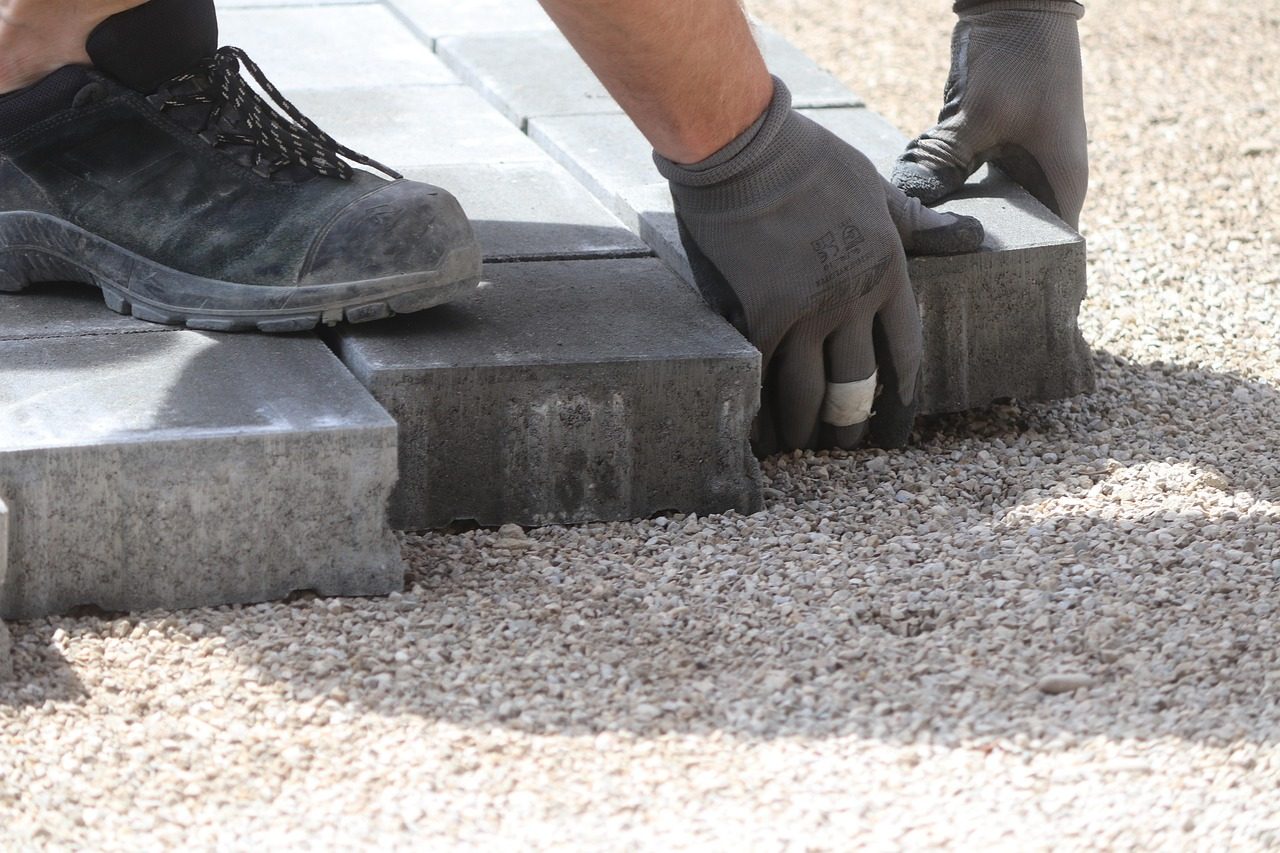
Most paver patios include at least one feature beyond the paved surface itself. The extras you choose depend on how you plan to use the space and the natural slope of your yard. Each addition requires its own base preparation, materials and labour, so they are priced separately from the main patio area.
Retaining walls become necessary when a patio sits on a slope. The wall holds back the soil and keeps the base stable over time. A low wall under half a metre costs less than a taller engineered wall that needs geogrid reinforcement and drainage behind it. Steps connecting the patio to the lawn or to a door add another line item. A single wide step is simpler to build than a curved staircase with risers and a landing.
Built-in seating and fire pits turn the patio into a gathering spot. A low seat wall along the edge of the patio uses the same pavers as the floor but requires its own compacted base and a capping row for a finished look. A gas fire pit with a burner and supply line costs more than a simple wood-burning pit lined with fire brick. Lighting adds usable hours in the evening. Low-voltage path lights and step lights need a transformer and wiring run before the pavers go down. Hardscape lights set into the wall or the paving itself are installed during the build, not retrofitted later.
Sealing is the most common finish applied after installation. A penetrating sealer protects the paver surface from stains and slows fading, while a wet-look sealer adds a gloss that brings out the colour. Here is how the main extras compare in scope:
- Retaining walls: required on sloping sites, height and engineering drive the cost.
- Steps: a single transition step is the most affordable option, while multiple risers with landings add labour and materials.
- Seat walls and built-in benches: they need their own base and capping, priced by the linear foot.
- Fire pits: wood-burning pits are simpler to build; gas units involve a plumber and a permit in many municipalities.
- Lighting: low-voltage fixtures and a transformer are standard; lights embedded in walls or steps cost more because of the installation sequence.
- Sealer: applied after the patio is complete, with the choice between a natural matte finish and a glossy wet look.
How can I get an accurate quote for my paver patio
A reliable quote starts with a few simple numbers you can gather yourself before anyone visits. Measure the length and width of the planned patio area in feet and multiply them to get the square footage. Add 5-10% for cuts and waste, especially if the shape has curves or angles. Pick a paver material and note the product name or a photo, because a contractor cannot price the job without knowing whether you mean basic concrete pavers or natural stone.
Walk the site together with the contractor and point out anything that will affect the work: slopes, tree roots, access for equipment, and the location of downspouts or utilities. A visit lets them spot soil issues you might miss, such as heavy clay that needs deeper excavation. Ask for a line-item estimate that separates materials, excavation, base preparation, labour, and any extras like steps or retaining edges. A single lump sum hides what you are actually paying for.
- Measure the area and calculate square footage, then add 5-10% for cuts and waste.
- Choose a specific paver material and have the product name or a photo ready.
- Walk the site with the contractor and mark slopes, roots, access points, and drainage.
- Ask for a line-item estimate that breaks out materials, base work, labour, and extras.
- Compare at least three quotes and check that each one covers the same scope of work.
Frequently asked questions
Is it cheaper to install a paver patio myself
You can save on labour by doing the work yourself, but the hidden costs add up quickly. Renting a plate compactor, buying base gravel and sand, and fixing drainage mistakes often bring a DIY patio close to the low end of a professional install. A contractor also warranties the base, which is the part that determines whether the patio stays flat over time.
How long does a paver patio last
A properly installed paver patio on a compacted gravel base lasts 25 to 50 years or more. Concrete pavers typically outlast brick, and natural stone can last a lifetime. The base matters more than the paver material: if water drains well and the ground does not shift, individual pavers can be lifted and replaced without rebuilding the whole patio.
Do I need a permit for a paver patio
Most towns require a permit if the patio is larger than a certain size, often around 200 square feet, or if it affects drainage toward a neighbour's property. Your contractor usually handles the permit as part of the project. A site built without one can cause trouble when you sell the house, so it is worth checking local rules early.
When is the best time of year to install a paver patio
Spring and early autumn give the most predictable weather for excavation and compaction. You can install pavers in summer, but extreme heat makes base compaction harder, and winter frozen ground stops work entirely. Booking a contractor in late winter often secures a better slot and avoids the spring rush.