
Checking Your Deck After a New England Winter
Months under snow leave their marks in predictable places: the ledger, the posts, the joist tops and the stairs. A spring walk-through with a flashlight and a screwdriver, and how to tell a repair from a rebuild.
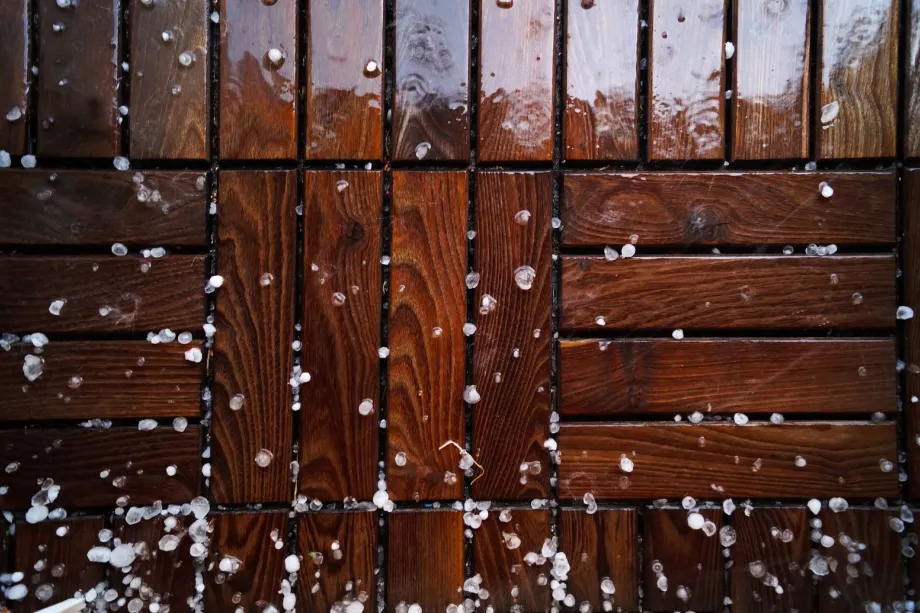
Snow removal and winter wear
Snow that sits on a deck for months keeps the boards and seams wet, and the way it was cleared off shows up in spring. Metal shovels scratch protective finishes and gouge wood or composite boards. Plowing or chopping at frozen ice chips off edges and exposes bare lumber to moisture penetration.
Push snow along the length of the boards using a plastic shovel or a stiff broom. Avoid using rock salt or calcium chloride on wooden or composite surfaces. Chemical ice melts draw moisture deeper into wood grain and corrode metal connectors underneath. Leaving a thin layer of snow to melt naturally is safer than scraping down to bare wood with sharp tools.
Structural safety: the ledger board and flashing
Start the spring walk-through where the deck attaches to the house. The ledger board carries a significant portion of the structural weight. Water trapped behind it rots framing out of sight, and a failed ledger connection is behind many deck collapses. Inspect the metal or plastic flashing installed above the ledger board. Snow accumulation and ice dams along the house wall can lift flashing edges, bend metal strips, or push moisture behind exterior siding.
Look underneath the deck with a flashlight to examine the ledger board and rim joists. Check for water stains, dark discoloration, or white fungal growth along the wood. Stainless steel or hot-dipped galvanized mounting bolts should fit tightly against the wood without visible rust scales. If rust streaks run down the foundation wall below the ledger board, moisture is reaching the structural fasteners. Loose bolts must be tightened, and damaged flashing requires prompt attention before rot spreads into the house rim joist.
Checking posts and footings for frost heave
Deep freeze cycles in New England reach far below the soil surface. Ground water expands as it freezes, exerting upward pressure on concrete footings. In spring, as the soil thaws, footings may settle unevenly. Walk around the perimeter and look along the line of the deck floor to see if any corner sags or bows upward.
Examine the base of every support post where it meets the concrete footing. Metal post anchors should hold the wood slightly above the concrete surface to prevent standing water absorption. If a post tilts or shifts off its center anchor, the footing under it may have heaved during winter freezing. Check that post-to-beam connectors remain square and secure. Structural shifting puts uneven tension on joists and railing posts, which creates weak points across the entire structure.
Performing the screwdriver test on boards and joists
Wood rot begins quietly in areas where water collects and cannot evaporate. To find hidden rot, take a flathead screwdriver or an awl and walk across the deck floor. Press the tip firmly into areas near fasteners, end joints, and where boards overlap support joists. Healthy wood feels hard and offers firm resistance. If the metal tip sinks easily into the surface or the wood feels soft and spongy, decay has taken hold underneath.
Inspect the framing beneath the deck floorboards as well. Joists hold moisture longer than surface boards because they receive less sunlight and airflow. Pay close attention to the top edges of joists where deck screws penetrate. Water follows fastener holes downward, rotting the joist from the inside out while the surface board looks acceptable. Split or cracked framing members need sistering with new pressure-treated lumber, while extensive joist rot requires full replacement.
Railings, stairs, and metal fasteners
Safety components take heavy stress from winter ice accumulation and snow loads leaning against guards. Grasp stair handrails and perimeter posts firmly and shake them. Any wobble or swaying indicates loose attachment hardware or weakened structural supports underneath. Check stair stringers where they touch the ground or patio pad. These ground-contact points frequently trap moisture, leading to rot that makes steps unstable.
Inspect joist hangers, post brackets, and structural screws. New England winter humidity combined with road salt carried on footwear accelerates metal corrosion. Look for flaking rust, metal thinning, or missing nails on joist hangers. Steel fasteners in pressure-treated wood undergo chemical reactions that speed up corrosion if improper hardware was used during construction. Replace rusted brackets or missing structural screws with hot-dipped galvanized or stainless steel hardware rated for exterior treated lumber.
Cleaning mildew and assessing staining needs
Spring moisture creates ideal conditions for mildew, algae, and mold growth. Green film or dark spots on shade-covered boards make surfaces extremely slick when wet. Clean the surface with a gentle wood cleaner or oxygen bleach solution using a soft-bristle scrub brush. High-pressure power washing strips away softened wood fibers and leaves gouges on cedar or pressure-treated boards. If you do use a pressure washer, keep the pressure low and the nozzle well back from the boards.
Once the deck is clean and fully dry, test the seal on wood boards. Splash a few drops of water onto high-traffic areas and shaded corners. If water beads up, the protective coating still works. If the water absorbs into the wood grain within a few minutes, the surface needs a fresh coat of stain or sealant.
Deciding between repair and replacement
Minor winter damage is easily managed with localized repairs. Individual cracked, warped, or soft floorboards can be unscrewed and replaced without touching the main structure. Reseating popped screws, replacing rusted brackets, and re-staining sections extend the useful life of an outdoor living space.
The picture changes when the framing is in trouble. Rot in several joists, footings cracked or heaved by frost, or a decayed ledger cannot be fixed with new boards on top. Have the framing assessed first, by the local building department's standards or by an experienced deck builder, before spending money on surface work.
Frequently asked questions
How do I clear snow off my deck without causing damage?
Push snow along the length of the boards with a plastic shovel or a stiff broom, and leave the last thin layer to the sun. Metal blades gouge wood and scratch composite. Rock salt is hard on wood finishes and on fasteners. If you need an ice melt, use one the decking maker approves.
How can I tell if my deck joists have hidden rot?
Press a flathead screwdriver firmly into the top edges of joists and near board seams. Healthy wood feels solid, while soft or spongy wood indicates internal decay from trapped moisture. Inspect the framing underneath for dark water stains or fungal growth.
When should I stain my deck after winter ends?
Once the deck is clean and thoroughly dry and the forecast meets the temperature range on the stain label, with no rain due while it cures. If water splashed on the busiest boards soaks in instead of beading, it is time for a fresh coat.