
How to Repair a Deck: A Practical Step-by-Step Guide
A sagging board, a loose railing or a soft spot underfoot does not always mean you need a new deck. Most damage can be fixed with basic tools and the right approach. This guide walks you through how to assess the damage, replace rotted boards, tighten the frame and get the structure solid again.
How do I know if my deck can be repaired or needs replacing?
A deck is worth repairing when the damage is limited to the deck boards, railings or stair treads and the posts, beams and joists underneath are still solid. You replace the whole structure when rot has spread into multiple load-bearing members or the ledger board is pulling away from the house wall.
Start the inspection at the ledger, the horizontal board bolted to the house. Look for rusted fasteners, gaps wider than 1/8 inch between the ledger and the wall, and any sign of water staining running down the siding. Then walk the frame underneath with a flashlight: check where joists meet beams, where posts sit on concrete footings, and every notched or cut area that could hold moisture.
The screwdriver test gives a quick answer. Press the tip of a standard flathead screwdriver into the wood at several spots along the joists and posts. If the tip sinks in more than 1/8 inch with moderate hand pressure or the wood feels spongy and crumbles, you have rot that has compromised the grain. A board that splinters cleanly is still sound. Do this test on at least three joists and every post base before you decide.
What tools and materials do I need for a basic deck repair?
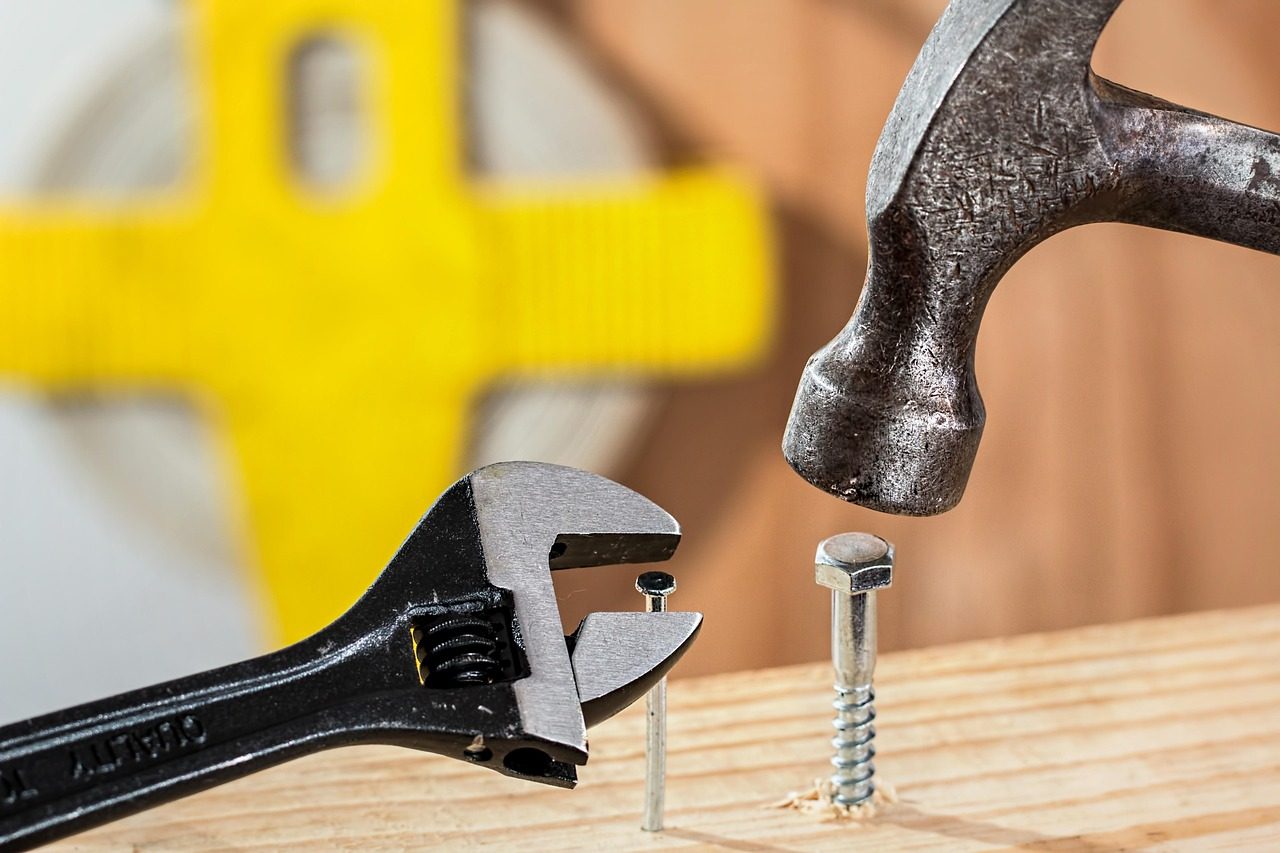
Most deck repairs involve removing damaged boards and securing structural connections, so the tool list is straightforward. You do not need a workshop full of specialty gear. A few well-chosen items handle the most common fixes: replacing a rotted board, tightening loose fasteners, and reinforcing a wobbly post.
Gather everything before you start. A trip back to the hardware store mid-job turns a two-hour repair into an all-day project. This list covers a basic board replacement and minor framing work.
- A flat pry bar and a cat’s paw nail puller for lifting boards and extracting old fasteners without gouging the surrounding wood.
- A cordless drill with a set of driver bits, plus a countersink bit if you plan to set screws below the surface and plug the holes.
- A circular saw for cutting boards to length, and an oscillating multi-tool for flush-cutting in tight corners or trimming a board end without removing adjacent pieces.
- Stainless steel or coated deck screws matched to your framing lumber; 3-inch screws for 2x material and 2½-inch for decking boards are typical.
- Pressure-treated lumber that matches the dimensions of the board you are replacing, plus a tube of exterior wood preservative to treat any fresh cuts.
- A 4-foot level, a carpenter’s square, and a tape measure to keep replacements straight and flush.
How do I replace a single rotted deck board?
Replacing one board is a straightforward job when the framing underneath is still solid. The main challenge is removing the damaged piece without scarring the surrounding boards or the joists. Probe the rot with a screwdriver to confirm it is confined to that single board. If the rot extends into the joist below, you are past a simple board swap and need to assess the frame.
Set a circular saw to a depth just shy of the board thickness, typically 1 inch for standard 5/4 decking, so you do not cut into the joist. Make two parallel cuts down the length of the rotted board, about half an inch from each edge, stopping a few inches from both ends. Finish the end cuts with an oscillating multi-tool or a sharp chisel, then pry out the center strip and the two narrow side pieces with a flat bar. The neighboring boards stay untouched.
Measure the opening carefully at both ends, as old boards often vary in width. Cut a pressure-treated replacement board of the same nominal size to length. Fasten it with deck screws driven into the existing joists, using the same fastener pattern as the rest of the deck. Leave a gap of about 1/8 inch on each side for drainage and expansion.
How do I fix a wobbly railing or loose post?
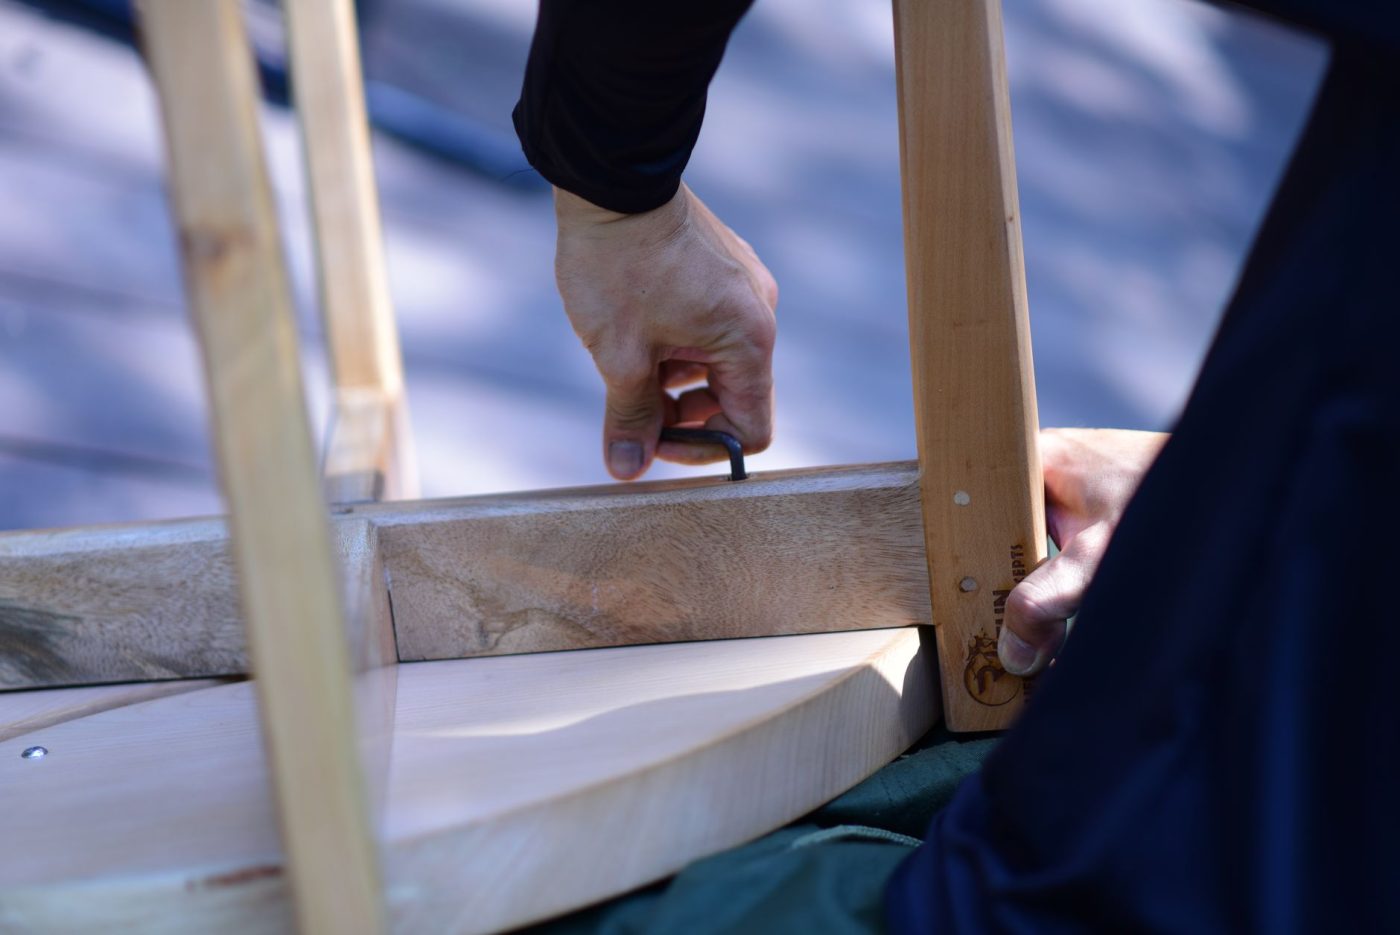
A railing that moves when you lean on it usually has loose fasteners at the post base or where the rail connects to the post. Tighten every visible bolt and screw with a ratchet or impact driver. If a bolt spins without grabbing, the wood inside the post or rim joist has softened and needs a longer fastener or a different approach.
For a post that rocks at the base, add blocking inside the deck frame. Cut two pieces of pressure-treated 2×8 or 2×10 to fit snugly between the joists on either side of the post. Fasten the blocking to the joists with 3-inch structural screws, then drive two ½-inch through-bolts with washers through the blocking and the post. Locking the post in two directions stops the side-to-side movement that loosens railings over time.
When the wobble comes from the rail-to-post connection, remove the old nails or deck screws. Replace them with 3½-inch structural screws that have a wide washer head, driving them at a slight angle through the rail into the post. If the wood around the old holes is split or punky, shift the fasteners an inch up or down into solid material. On a guardrail post that has twisted out of plumb, you can straighten it by loosening the base bolts, clamping the post to a temporary brace, and retightening everything once it reads level on two faces.
How do I repair soft spots or sagging areas in the deck frame?
A soft spot underfoot usually means the joist below has begun to rot where it meets the decking. If the bounce is spread across several boards, the beam or a supporting post may have settled. Fix a single weakened joist by sistering a new one alongside it. A sagging beam calls for a new concrete pier and post.
To sister a joist, cut a pressure-treated board of the same depth to span at least 3 feet past the rotted section on both ends. Jack the frame up gently until it is level, clamp the new joist tight against the old one, and fasten with two 3-inch hot-dipped galvanized nails or structural screws every 12 inches in a staggered pattern. For a rotted rim joist, cut out only the damaged section between two joist bays and bolt a replacement piece in place using galvanized angle brackets.
When the whole beam has dropped, dig a footing hole at least 12 inches in diameter below the frost line for your area, pour a concrete pier to grade, and set an adjustable post base. Raise the beam with a bottle jack, cut a new 6×6 post to length, and secure it with metal connectors rated for exterior use. Work on a dry day when the lumber is not swollen. Any new wood within 6 inches of soil must carry a ground-contact rating.
How do I match new deck boards to the old ones?
Identify the species and the milling profile of your existing decking first. The most common options in the US are pressure-treated southern yellow pine, cedar, redwood, and tropical hardwoods like ipe. Take a clean offcut or a photo of the end grain to a lumber yard, not a big-box store, because the staff there can often match the species by sight. The profile matters just as much: measure the actual thickness (a 1x6 is typically ¾ inch thick) and the edge style, whether it is square, eased, or radius-edged, so the new board sits flush.
New wood will always look different at first, even when the species is an exact match. Pressure-treated pine arrives still wet and has a greenish or brown tint, while cedar and redwood start out brighter and richer than the weathered silver-gray of the old boards. The difference fades. Leave the new boards to dry for a few weeks, then sand the entire deck surface with 60- or 80-grit paper to even out the texture. A semi-transparent oil-based stain in a tone close to the weathered color of the old wood helps blend the repair, but wait until the moisture content of the new boards drops to match the surrounding material, otherwise the stain will take unevenly.
The repair will remain slightly visible for one full season. Sunlight, rain, and foot traffic will fade the new boards and bring them closer to the rest of the deck. If you flip the new board so its best-looking face is up and stagger the joints so they do not line up with old seams, the patch becomes far less noticeable even before the color evens out.
When should I call a professional instead of doing the repair myself?
Replacing a few surface boards is a manageable weekend job, but structural problems call for a contractor. The ledger board that attaches the deck to the house is the most critical connection. If you see widespread rot there, or if the deck is pulling away from the house and you can spot gaps in the flashing, stop using the deck and call a pro.
Other red flags include sagging in the middle of the deck, which often points to a failed beam or footing settlement. A footing that has sunk or heaved cannot be fixed with shims alone. You also need a professional when the repair requires a building permit. In most jurisdictions, replacing a beam, digging new footings, or altering the guardrail height triggers a permit and an inspection.
Call a contractor without delay when you see any of these signs:
- The ledger board is soft, rust-stained, or pulling loose from the house rim joist.
- The deck sways side to side or bounces noticeably when you walk across it.
- One or more support posts have rotted at the base or shifted off their concrete piers.
- A beam shows deep cracks, splits, or spongy wood along its length.
- You need to replace more than a third of the joists or the deck has a cantilevered section that is failing.
- The repair involves gas lines, outdoor electrical outlets, or a roof structure attached to the deck.
Frequently asked questions
Can I repair a deck in winter?
Yes, as long as the ground is not frozen solid and you can safely work outdoors. Pressure-treated lumber can be installed in cold weather, but composite decking expands and contracts with temperature, so follow the manufacturer's gap recommendations for the season.
Do I need a permit to repair my deck?
In most jurisdictions, replacing a few deck boards or tightening railings does not require a permit. If you are replacing structural members such as beams, joists or footings, or if the repair exceeds a certain percentage of the deck area, a permit is often required. Check with your local building department before starting.
How long does a deck repair take?
Replacing one or two boards and tightening hardware can take a few hours. Repairing a section of framing or several joists may take a full weekend. The timeline depends on the extent of the damage, access under the deck and whether you need to order matching material.
Why does my deck wobble even though the boards look fine?
A wobbly deck usually points to loose connections in the frame, not the decking. Diagonal bracing may be missing or the ledger bolts may have loosened over time. Tightening the hardware and adding knee bracing between posts and beams often solves the movement.