Wood Fence Panels: Materials, Cost and Installation
Wood paneling turns a standard fence into a private, finished boundary that also cuts down noise and wind. This guide covers the panel types you can choose, what a typical job costs per linear foot in the UK and how a contractor installs the panels so they stay straight for years.

What is wood fence paneling and how does it differ from a regular fence?
Wood fence paneling is a decorative and functional layer of boards, slats or sheets fixed to a structural fence frame. The frame carries the load and holds the posts in the ground, while the paneling provides privacy, wind screening and the visible finish. A conventional fence does not separate these two jobs.
In a standard picket or privacy fence, the vertical boards are the structure. Each board is fastened directly to horizontal rails between the posts, and together they brace the fence against wind and everyday use. The boards keep the fence standing and create the visual barrier at the same time. With wood paneling, the boards are purely a cladding. The frame behind them is built first, typically from pressure-treated timber or galvanized steel, and the panels are attached afterward. Because the panels are not load-bearing, you can use thinner material, arrange boards in more varied patterns and replace individual sections without rebuilding the entire fence.
A regular fence keeps the same look and rarely changes. Paneling lets you upgrade an existing fence or choose a style that a structural fence cannot easily achieve, such as tight horizontal slats with no visible gaps or a double-sided design that looks finished from both your yard and the street.
Which wood species work best for fence panels?
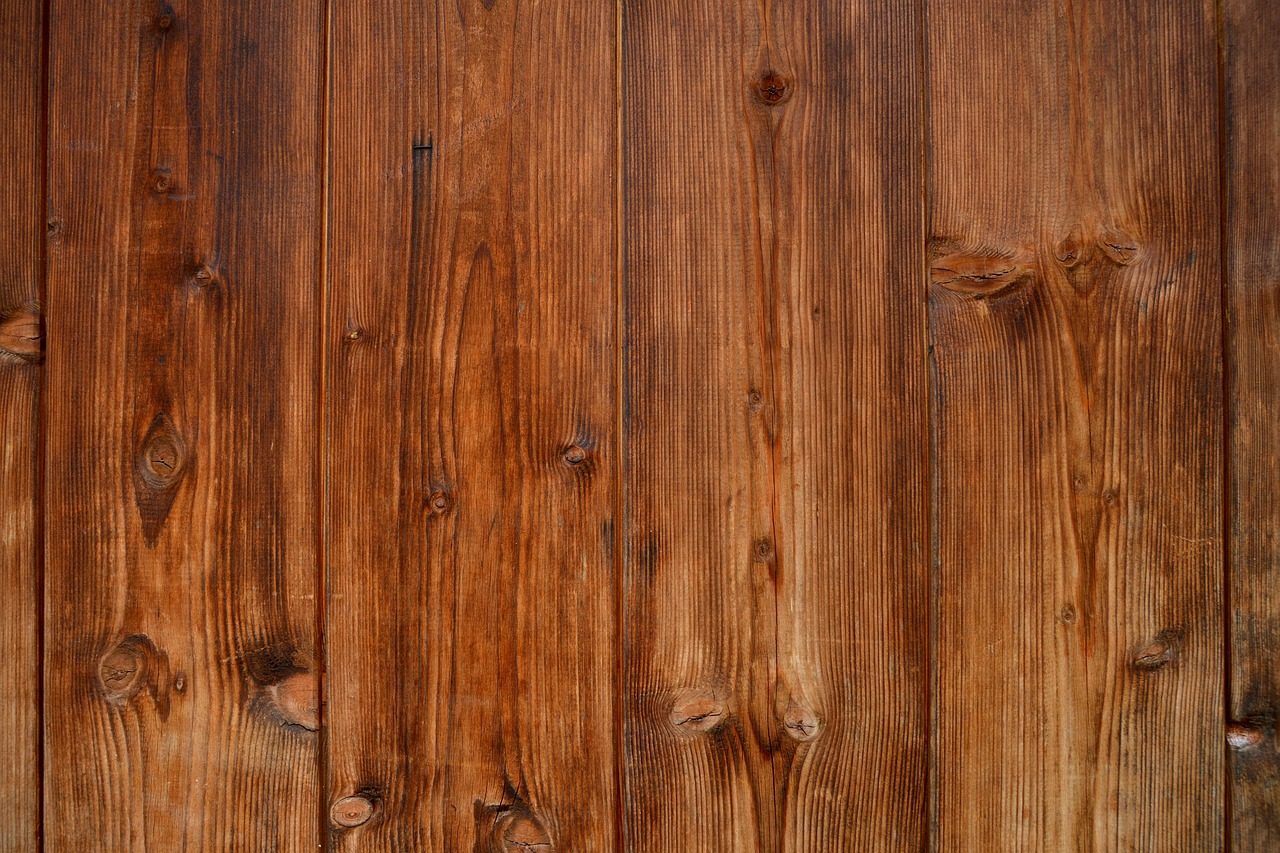
The species you pick determines how long the panels stay straight and how well they resist decay. Cedar and pressure-treated pine cover most residential projects, while redwood and tropical hardwoods suit jobs where appearance or extreme durability matter more than the initial outlay.
Cedar has natural oils that repel insects and moisture, so it resists rot without chemical treatment. It arrives flat and stays that way with minimal cupping or warping. The color weathers to a light silver-gray unless you stain it every couple of years. Pressure-treated southern yellow pine costs less, but the treatment protects mainly against rot and termites, not against movement. Boards tend to twist as they dry, so you need to buy extra and cull the worst pieces on site.
Redwood holds its rich color longer than cedar and has the same built-in decay resistance. In regions where it is readily available, the price sits between cedar and premium tropical stock. Ipe and other dense tropical hardwoods are so heavy and hard that they barely move with humidity changes, and they can last 25 years or more without a finish. The trade-off is weight. You need carbide blades and stainless fasteners, and the material cost can be two to three times that of cedar.
- Cedar: high rot resistance, stable, medium cost.
- Pressure-treated pine: good rot resistance, prone to warping, lowest cost.
- Redwood: high rot resistance, stable, medium to high cost where available.
- Ipe: extreme rot resistance, very stable, highest cost and harder to work.
- Composite wood boards: zero rot risk, uniform color, stable, cost varies by brand.
What does wood fence paneling cost per linear foot?
The total cost per linear foot depends on the wood species, the complexity of the design and local labor rates. Material costs for common species like pressure-treated pine typically start lower, while clear western red cedar or ipe can run two to three times higher. The panel orientation also affects the material takeoff because horizontal layouts often use wider boards and require more intermediate blocking than vertical layouts.
Labor makes up a large part of the final bill, especially when the installer has to straighten an existing fence frame before attaching the panels. A simple vertical board-on-board pattern on a sound structure is the quickest to install. Horizontal shadow-gap paneling takes more time because every board needs precise spacing and the crew has to check the level continuously.
Several things can raise or lower the price:
- Height of the fence: a 6-foot panel uses more board feet than a 4-foot panel, pushing material and labor up proportionally.
- Board width and thickness: wider or thicker boards cost more per piece, and thicker stock may need heavier fasteners.
- Gap or no gap: open shadow gaps demand spacers and extra cuts, while a tight board-to-board fit is faster to assemble.
- Stain or paint finish: factory-finished boards add upfront cost but skip the separate finishing step after installation.
- Site access and tear-out: removing old fencing, hauling debris or working on a slope all add hours to the job.
- Hardware grade: stainless steel screws and hidden clip systems increase materials cost compared to exterior-grade coated screws.
Horizontal or vertical paneling: which one should I choose?
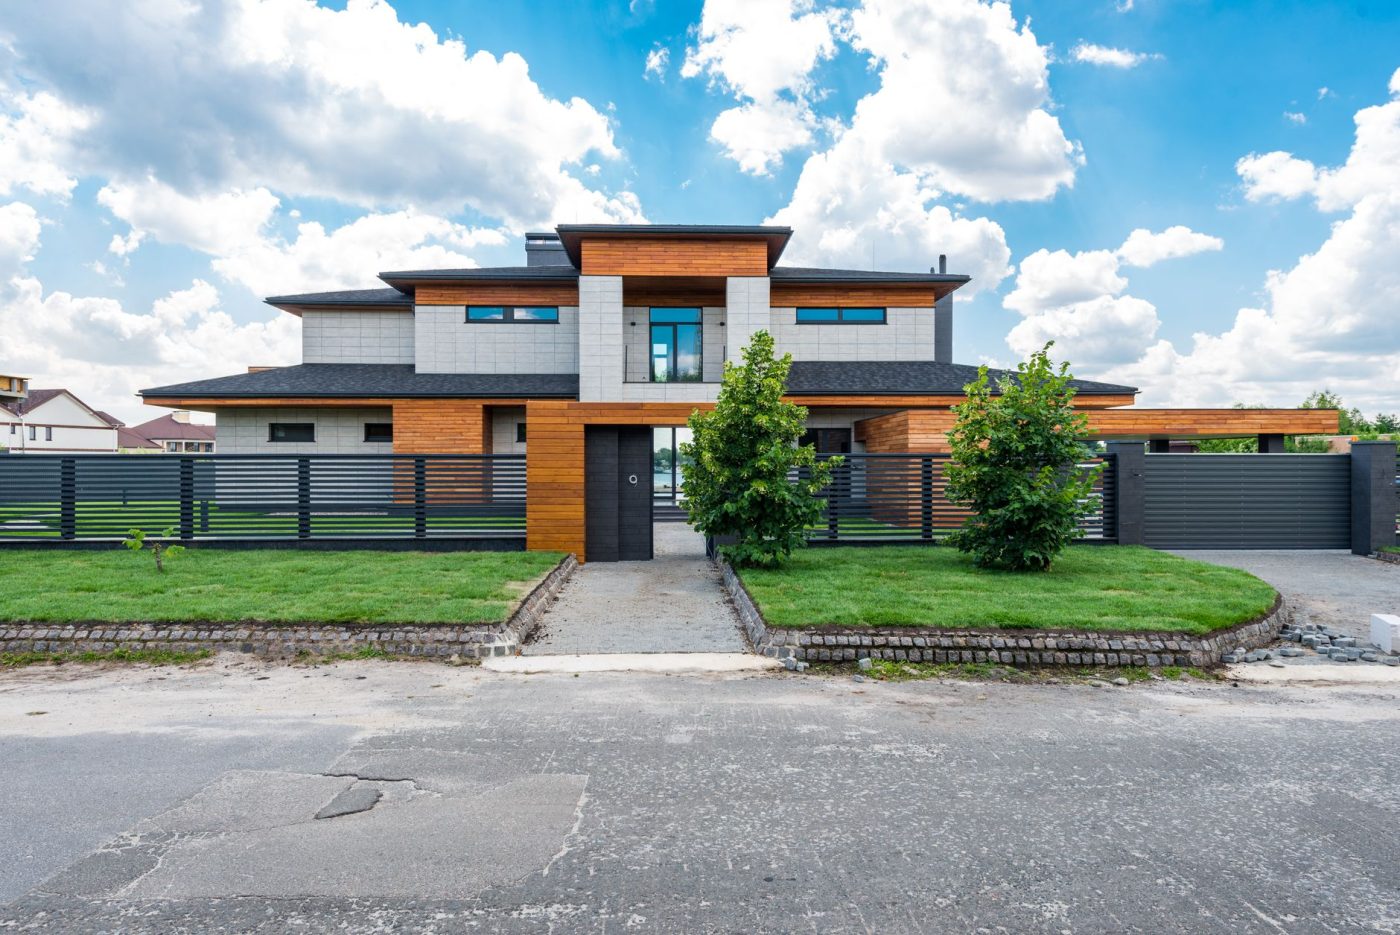
Horizontal boards make a yard feel wider and longer, so they suit compact urban plots and single-story homes. The lines draw the eye sideways and soften the boundary between the fence and the ground. Standard sizes are 1×6 and 1×8 boards, which give a solid, layered look when butted tightly or installed with a slight shadow gap.
Vertical paneling adds height and works well on sloped ground, where stepping the boards avoids large gaps under the fence. A 1×4 or 1×6 board run straight up draws the eye upward and pairs naturally with two-story houses or narrow side yards. Water runs down the joints faster than on horizontal boards, so the top edges stay drier and the boards tend to cup less over time.
Both orientations shed rain when installed correctly. Horizontal boards need a slight gap between courses or a bevelled top edge so water does not pool on the upper face. Vertical boards benefit from a cap rail or a drip edge that keeps end grain from soaking up moisture. The practical choice often comes down to the existing posts. A standard post-and-rail frame accepts horizontal boards directly, while vertical boards need extra horizontal backing rails fixed between the posts.
How is wood paneling installed on an existing fence?
A contractor starts by inspecting the posts and the frame that will carry the new boards. Rot at the base of a post, a lean of more than a couple of degrees or rusted fasteners in the rails usually mean the old structure cannot hold the extra weight. In those cases, it costs less to remove the old fence and build a new one than to reinforce a failing frame.
When the frame is sound, the crew attaches vertical furring strips to the existing rails with exterior-grade screws. The strips create a flat plane and a small air gap behind the new boards, which helps the wood dry after rain. The layout of the boards is marked next: the crew spaces them with a consistent gap, usually the thickness of a nail, and keeps the top line level even if the ground slopes.
- Inspect every post for rot and check that rails are still firmly attached to the posts.
- Fasten pressure-treated furring strips horizontally across the existing rails with stainless or coated screws.
- Mark the board layout with a chalk line and set the spacing with a gauge block for a uniform shadow gap.
- Fix the boards to the furring strips with ring-shank nails or trim-head screws, one fastener per strip.
- Apply a clear water-repellent finish or a stain with UV inhibitors to all six sides of each board before installation.
Boards are installed one at a time from one end of the fence to the other. The last board in a run is often ripped to width on site so the panel ends neatly at the post. A bottom gap of about 2 inches above the soil keeps the wood out of standing water and reduces the risk of decay at the cut end.
How do I maintain wood fence panels so they last?
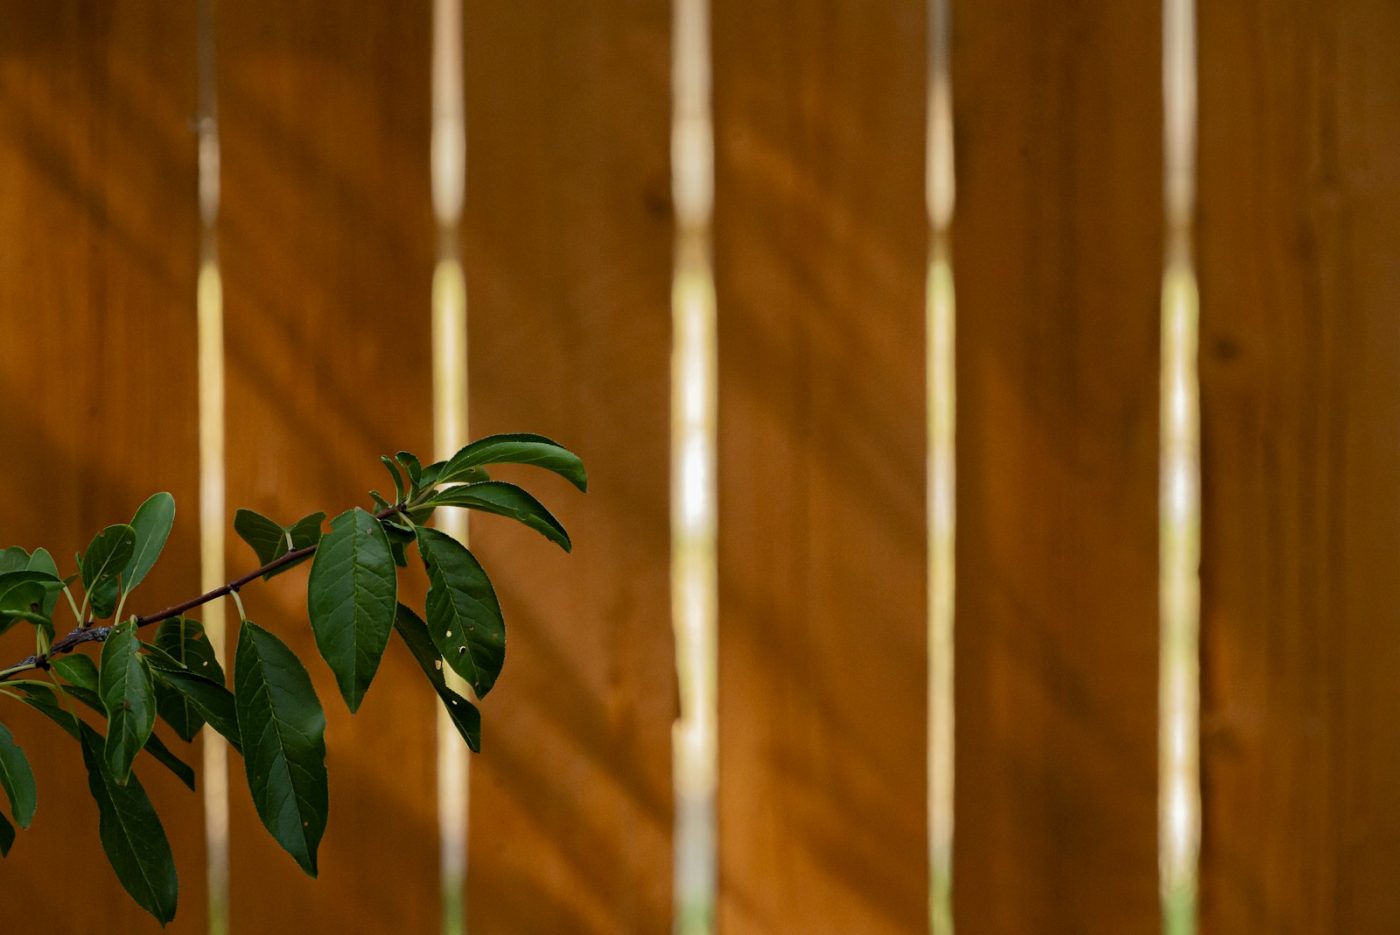
Wood fence panels need cleaning, recoating and the occasional board swap to reach their expected lifespan. Most decay starts where the boards meet the rails or the ground, so the main job is keeping those joints dry and free of debris. A panel in full sun that dries quickly after rain will always outlast one tucked under a dense tree canopy.
Plan on a light wash once a year. A garden hose with a fan nozzle and a soft brush remove pollen, dust and bird droppings before they etch the surface. Avoid a pressure washer set above 1200 psi or held closer than 12 inches, because a sharp jet lifts wood fibers and forces water behind the boards. After washing, let the panels dry for two full days before applying any coating.
A transparent or semi-transparent stain needs recoating every 2-3 years, while a solid stain or exterior paint can stretch to 4-5 years on vertical surfaces. The first recoat is the most important: manufacturers often specify it within the first 12-18 months, once the initial factory treatment has weathered. In a climate with freeze-thaw cycles, a film-forming finish that is allowed to crack lets water in and traps it there, so catch peeling early and sand the affected area back to bare wood before recoating.
Watch these points during the first two years and every spring after that:
- Bottom edges of panels that sit less than 2 inches above soil or mulch hold moisture and rot first; trim or raise them if the gap has closed.
- Fasteners that have backed out by a millimetre or two let water follow the thread; replace any rusted screw or nail with a coated deck screw of the same length.
- Boards that cup or twist more than the neighbors were likely installed too wet; swap them before the warp pulls on the rails.
- Horizontal top caps and post caps take the most direct rain; check their end grain every autumn and touch up exposed cuts with a brush-on sealer.
- Climbing plants hold dampness against the face of the panel for days; a trellis set 4 inches off the fence gives the same look without the moisture trap.
Can I add wood paneling to a metal or masonry fence?
Yes, wood panels can be attached to a sound metal frame or a masonry wall. The method depends on the base material and the panel layout you want. A structural inspection is the first step: the existing posts and wall must carry the extra wind load without leaning or cracking.
For steel or aluminum posts, the standard approach is to bolt horizontal timber rails directly through the post with galvanized coach bolts and washers. On a block or brick wall, you fix vertical treated battens with masonry anchors first, then screw the panels to the battens. This creates an air gap that keeps the wood dry. A chain-link fence needs a new subframe of horizontal rails fixed to the existing posts with U-brackets; the panels then fasten to the rails as on a new build.
Hardware must be rated for outdoor contact: stainless steel or hot-dip galvanized fasteners prevent rust streaks on the wood. Count on adding 1-2 days of preparation per 30 linear feet for drilling, leveling and treating cut ends before the panels go up.
Frequently asked questions
Does wood paneling make a fence more private?
Yes. Panels are typically fitted with tight or overlapping joints that close the gaps you get with standard pickets. When installed full-height with no spaces between boards, a paneled fence becomes a solid visual screen.
Will paneling shorten the life of the fence structure?
Only if the original frame was not built to carry the extra weight or if the panels trap moisture against the posts. A contractor will check the post spacing and add furring strips to create an air gap, which keeps the frame dry and extends its life.
How long does a wood paneling job take?
For a typical backyard fence of 100 to 150 linear feet, a crew of two can usually complete the work in two to four days. The exact time depends on the panel style, the number of corners and whether the existing frame needs any repairs first.
Can I paint the panels instead of staining them?
You can, but a solid-color stain or a penetrating oil finish tends to last longer on exterior wood because it soaks into the fibers rather than sitting on the surface. Paint can peel and trap moisture if the wood moves, so it needs more frequent scraping and recoating.